It’s time to skip the usual stewed okra (which often has a slimy texture) and fried okra (which is often greasy) and instead learn how to roast okra! It is the best way to enjoy these somewhat intimidating vegetables.
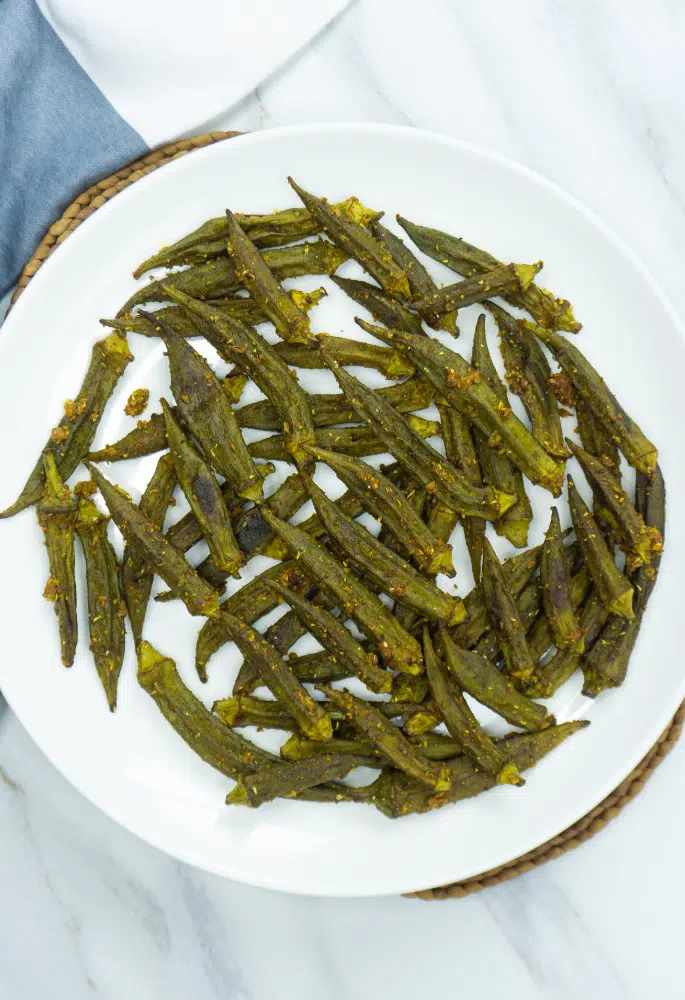
The good news is that the method is super simple. You essentially toss the okra with lots of spices and oil, spread it out on a tray and then roast it in the oven. Okra no longer has to be scary. It doesn’t have to be that weird vegetable you avoid in the supermarket.
What You’ll Need to Roast Okra
I love to give okra an Indian-inspired spice rub. It’s synonymous with Indian food, so it takes so well to some of the typical Indian spices you’ve probably got sitting in your cupboard already. The quantities below will be ample for 4 to 6 people.
- 500g Okra: 500g of fresh okra will be ample as a side dish for 4 to 6 people.
- 2 tbsp Olive Oil: You can’t roast much without oil to help it along the way.
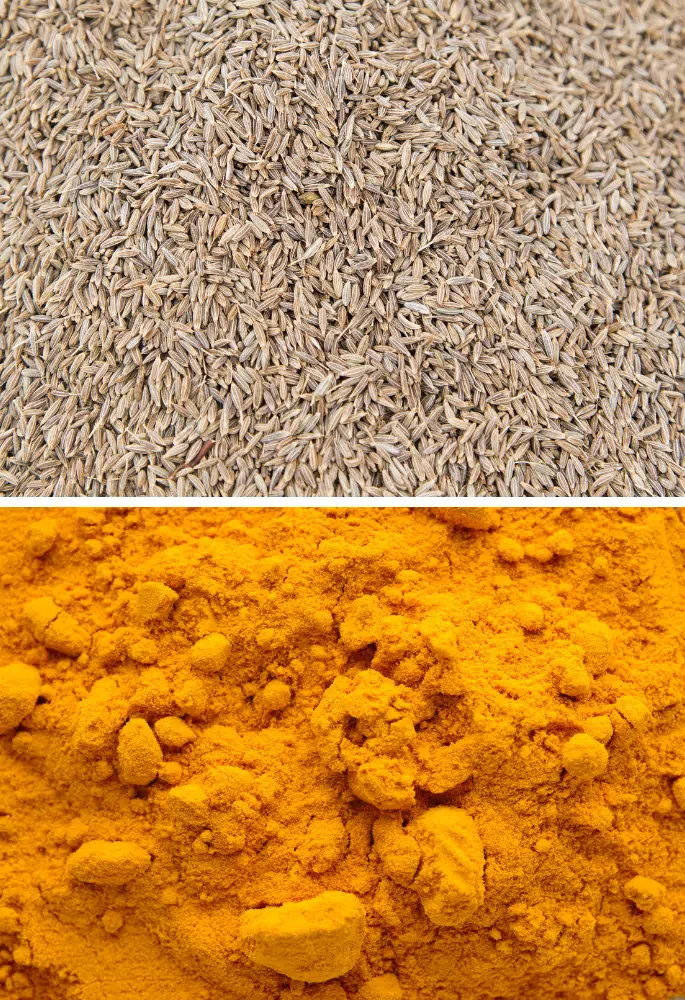
- 1 tsp Each of Ground Turmeric, Cumin and Coriander: These are 3 of the most common Indian spices. You need equal quantities of each, ground up.
- 1/2 tsp Chilli Powder: You don’t want the chilli to overpower the other spices. You just want it to provide a little warmth.
- 1-2 Garlic Cloves: I love garlic. I know the level of garlic I enjoy is beyond acceptable for others (especially those around me). Tweak this according to your personal love of garlic.
You’ll also need salt, pepper and a lemon for the juice only.
How to Roast Okra
Before you get to roasting the okra, make sure you’ve got a large bowl for mixing the okra with the spices and a large baking sheet that will fit all the okra on. It’s now time to make the best roasted okra you’ll have ever had:
- Get Prepared
Preheat the oven to 200°C. Wash the okra and pat dry. Trim the stems and slice larger pods in half lengthwise. - Add Seasoning
In a large bowl, combine the okra with oil, salt, black pepper, turmeric, cumin, coriander, chilli powder, garlic, and lemon juice. Toss until the okra is well coated with the spices.

- Roast
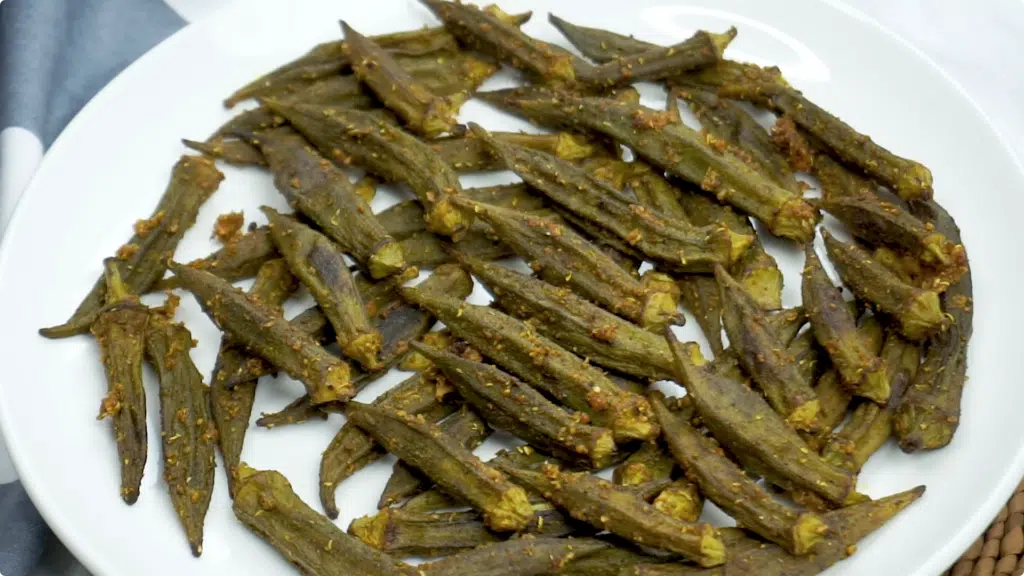
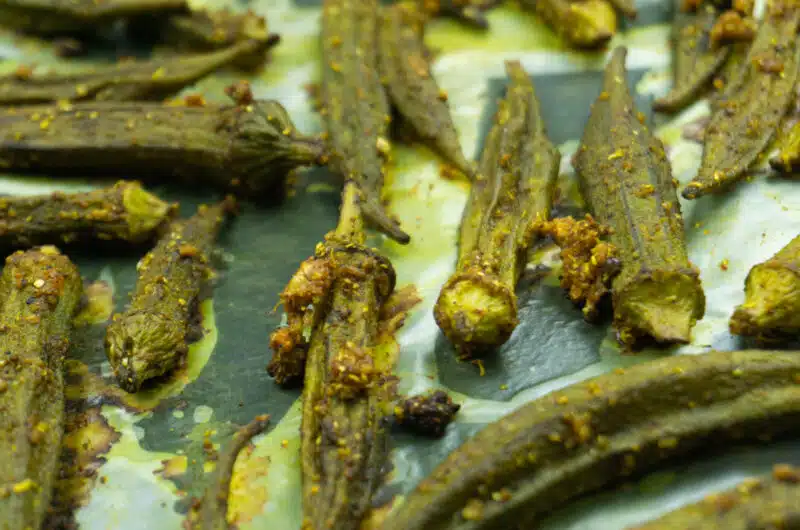
Spread the seasoned okra in a single layer on a baking sheet. Roast in the oven for 20-25 minutes, stirring halfway through, until the okra is tender and has a slight char. It should be golden brown in places.

- Serving
Remove from the oven, let cool slightly, and serve as a side dish with grilled meat or your favourite curry.
Substitutes and Tweaks
The spices are pretty pungent and roasting adds a slightly smoky flavour so garnish the okra with fresh mint or coriander.
If you want to give it a little more warmth (but not chilli heat) then add a spoonful of grated ginger to the mix.
Turn this into a more substantial dish by adding cherry tomatoes on the vine to the tray for the final 10 minutes in the oven.
Use this method with completely different spices. You could use cayenne pepper, onion powder or garlic powder.
Tips for Roasting Okra
Roasting okra is fairly simple, to be honest. You can’t really get it wrong. But if you want to improve your okra roasting game, then stick to these tips;
- Quick Freeze: If your okra is slimy, spread it out on a tray and freeze for 15 minutes before roasting. This reduces sliminess and aids in crisping. It turns the mucilage (yes, that’s the real name for it) thicker and less slimy.
- Cornflour Crisp: Lightly dusting okra with cornflour before roasting can help in achieving an extra crispy exterior.
- High Heat Start: Begin roasting at a slightly higher temperature for the first 5 minutes, then reduce. This initial blast of heat helps in sealing the moisture and achieving a charred exterior.
- Spatula Press: Halfway through roasting, gently press down on the okra with a spatula. This increases the surface area in contact with the pan, enhancing the caramelization.
- Salt After Roasting: Instead of seasoning before, try sprinkling the salt after roasting. This retains the okra’s crispiness and prevents it from releasing excess moisture during cooking.
Roasted Okra with Indian Spices
Course: SidesCuisine: IndianDifficulty: Easy4
servings10
minutes25
minutes35
minutesRoasted okra, lightly charred in the oven with common Indian spices and chilli heat.
Ingredients
500 g Okra
2 tbsp Olive Oil
1 tsp Salt
1/2 tsp Black Pepper
1 tsp Ground Turmeric
1 tsp Ground Coriander
1 tsp Ground Cumin
1/2 tsp Chilli Powder
1-2 Garlic Cloves, Minced
1 tbsp Lemon Juice
Directions
- Preheat your oven to around 200°C. Give the okra a wash and then dry thoroughly. You don’t want any excess moisture in the oven. Trim the stems and then slice any larger okra in half lengthways. You want them all around the same size.
- In a bowl, mix the okra with the oil, salt and pepper, spices, garlic and lemon juice. Mix it until the okra is evenly coated in the spice mix.
- Tip the okra on a baking sheet and spread it into a single layer. You don’t want any of the okra sitting on top of other pieces. Pop it in the oven and roast for around 20 minutes or until the okra is tender.
- Remove it from the oven, cool it slightly before serving as a side dish.
Recipe Video
Ross is a freelance writer with a passion for delicious food and drinks, having worked in the hospitality industry in the past. He began working with Let’s Foodie when it first launched to provide information on how to reheat, freeze and microwave different foods.